
Your Shark robot vacuum isn’t running, and worse, the LEDs are completely dark. Before you panic or order a replacement, know that a dead light panel usually points to one of a handful of fixable issues. Most homeowners can diagnose and solve no lights problems without opening the unit or calling a technician. This guide walks you through the most common culprits, power supply glitches, battery drain, and software hiccups, and gives you a clear troubleshooting path to get your vacuum back to work. You’ll need about 15 minutes, basic tools, and no special skills.
Table of Contents
ToggleKey Takeaways
- When your Shark robot vacuum has no lights on, the issue typically stems from power supply problems, battery drain, or software glitches—not LED failure—and can usually be fixed without professional help in under 15 minutes.
- Clean the metal contact points on both the vacuum and charging dock with a microfiber cloth, verify the outlet works, and ensure proper alignment to restore power delivery to your Shark vacuum.
- If the power adapter shows no visible damage, use a multimeter to test for correct voltage output (usually 14V–18V); a faulty adapter requires replacement and should never be repaired with tape.
- A critically depleted battery may need 24 hours of continuous charging on the dock to revive, and if lights still don’t appear, a replacement battery ($40–$80) is typically the most cost-effective solution.
- Perform a factory reset by holding the reset button for 10–15 seconds to clear glitched settings and restore LED function, though this will erase saved maps and require the vacuum to relearn your home layout.
- If no lights appear after checking connections, charging, and resetting, contact Shark support with your model number and proof of purchase to determine warranty coverage or explore repair options ($30–$120).
Understanding Your Shark Vacuum’s LED Indicator System
Every Shark robot vacuum relies on LED lights to tell you what’s happening. These indicators show power status, charging mode, error codes, and operational state. When all lights go dark, the vacuum either isn’t receiving power, the battery is critically discharged, or there’s a communication failure between the battery and the main circuit board.
The light pattern varies by model. Some show a single power LED: others have a row of status lights. Regardless, if nothing glows when you press the power button or place the unit on its dock, you’re looking at a power-delivery problem first. Think of the LED system as the vacuum‘s voice, when it goes silent, the unit can’t tell you what’s wrong, and it likely can’t do much else either.
Know that LEDs themselves rarely fail. If the lights won’t come on, the issue almost always lies upstream: the power adapter, charging dock connection, or the battery itself. This is actually good news because these components are cheap and simple to check.
Power Supply Issues: The Most Common Cause of No Lights
The charging dock and power adapter are the first place to investigate. A loose connection or a frayed cable will starve the entire system of electricity, including the LEDs.
Check The Charging Dock And Connections
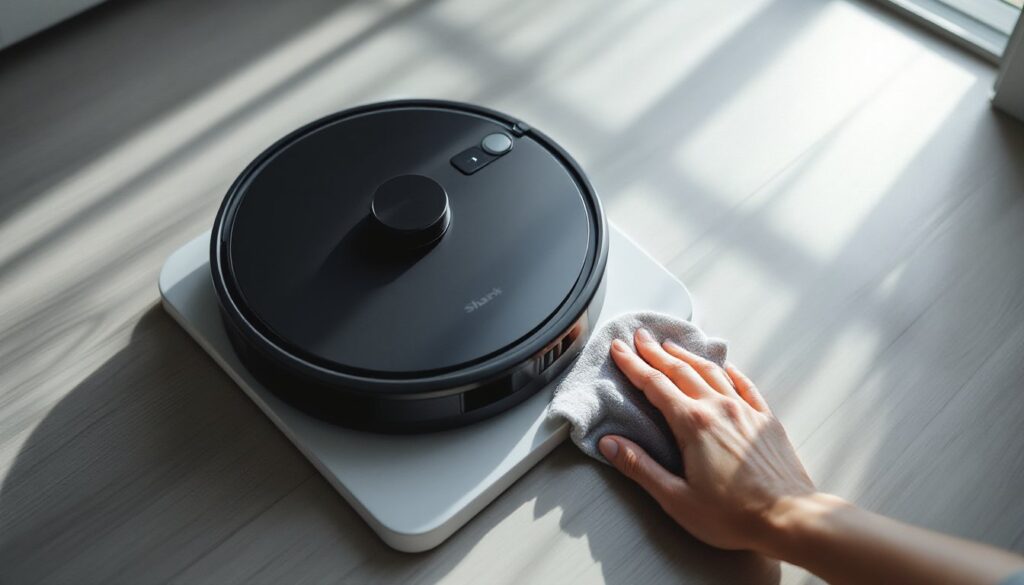
Start here. Place the robot on its dock and look closely at the metal contact points on both the vacuum and the dock base. They should be clean, shiny, and free of debris. Use a dry microfiber cloth or pencil eraser to gently rub the contacts on both surfaces. Dust, pet hair, or dried cleaning solution can block power flow even if everything looks normal.
Next, inspect the dock itself. Make sure it’s plugged into a working outlet, don’t assume. Plug a lamp or phone charger into that same outlet to confirm power is present. Move the dock away from walls or obstacles: the vacuum needs a clear path to align with the charging contacts. Poor alignment is a sneaky culprit. If the vacuum’s charging pads don’t meet the dock’s contacts properly, no power transfers, and you get zero lights.
Check that all cables between the dock and outlet are tight and undamaged. Wiggle the power cord gently at both ends. If it feels loose or you see any cracks or kinks in the insulation, that’s your problem.
Inspect The Power Adapter For Damage
The power adapter (the box that plugs into the wall) can fail silently. Unplug it and examine the entire cable for cuts, fraying, or burn marks. Look at where the cable meets the adapter and the dock connection point, these stress spots often fail first.
If you see damage, the adapter needs replacement: don’t try to repair it with tape. A damaged adapter is a fire and shock hazard. Order the correct adapter for your Shark model from Shark’s official website or a trusted retailer.
With no visible damage, use a multimeter if you have one. Set it to DC voltage mode and touch the probes to the adapter’s output terminals (check your model’s specs for the correct voltage, usually 14V–18V). If the meter reads zero or wildly different from the rated voltage, the adapter is dead. If you don’t own a multimeter, product reviews for home appliances from trusted sources can help you verify what specifications your adapter should have, and buying a new one is usually cheaper than testing gear.
Battery Problems That Turn Off All Indicators
If the power adapter and dock connections check out, the problem likely lives inside the vacuum itself: the rechargeable battery pack may be too dead to power even the LEDs.
Shark robot vacuums use lithium-ion battery packs that hold charge for 1–2 years under normal use. If the vacuum has sat unplugged for weeks, the battery may have self-discharged completely and dropped below the voltage threshold needed to trigger power-up. This is especially common if the unit was stored in a hot or cold space: batteries discharge faster in extreme temperatures.
Leave the vacuum on the dock for 24 hours straight. Genuine deep charging can sometimes revive a critically depleted battery. Don’t interrupt this cycle: let it run to completion. Some batteries take longer to show signs of life when they’re extremely low.
If lights still don’t appear after a full day of charging, the battery likely needs replacement. You can order a replacement battery pack directly from Shark or buy a third-party equivalent, just confirm the model number matches your vacuum. Replacing the battery is straightforward for most models: disconnect the old pack, slide the new one in, and reconnect the cable. No tools required. Expect to spend $40–$80 on a replacement battery, which is far cheaper than a new unit and often solves the no-lights issue completely.
Reset Your Robot Vacuum To Restore Lights
Sometimes the vacuum has power but the control board is stuck in a failed state and won’t initialize the LEDs. A factory reset clears any glitched settings and tells the board to start fresh.
Look for a small reset button on the underside of the vacuum, usually near the battery compartment or tucked under a rubber cover. Consult your manual for the exact location, models vary. Press and hold the reset button for 10–15 seconds using a straightened paperclip or the tip of a ballpoint pen. You may feel a subtle click.
Release the button and wait 30 seconds. Place the vacuum back on the dock. In many cases, the LEDs will light up during the boot sequence, signaling that the reset worked.
Note that a reset erases any saved maps or custom settings. Your vacuum will need to relearn your home layout on its next run. This is fine, it’s a software-only change. Nothing is damaged, and the vacuum functions normally afterward. If lights still don’t come on after a reset and the dock connections are confirmed good, you’re looking at a hardware fault that needs professional service.
When To Contact Shark Support Or Seek Professional Help
You’ve checked the dock, inspected the adapter, let the battery charge for a full day, and performed a factory reset. The LEDs remain dark. At this point, it’s time to contact Shark customer support or explore a warranty claim.
Before you reach out, have your vacuum’s model number and proof of purchase ready. Most Shark units carry a one-year manufacturer warranty that covers battery failure and circuit board defects, but not physical damage or misuse. If your vacuum is still under warranty, Shark will typically repair or replace it at no cost, minus shipping.
If the unit is out of warranty, a technician diagnosis will run $30–$60. Shark also offers mail-in repair service for roughly $80–$120 depending on the fault. Compare this to the cost of a new unit before deciding. Some models sell for $300–$600 new: others for $150–$250 refurbished.
For recent models with detailed specs and troubleshooting resources, you can check home maintenance guides and homeowner advice for broader smart-home appliance troubleshooting tips.
If the vacuum was damaged by water, dropped, or disassembled, warranty won’t cover it. In that case, professional repair is your only path forward, or replacing the unit if repair costs exceed 50% of its current market value.