
A kitchen island isn’t just a trend, it’s one of the most practical upgrades a homeowner can make. Whether you’re looking to add counter space, create a casual dining spot, or improve workflow, a Lowe’s kitchen island offers flexibility and style for nearly any layout. With options ranging from compact portable units to custom built-in designs, you’ll find something that fits your space, skill level, and budget. This guide walks you through the types available, how to choose wisely, and what installation entails so you can make an well-informed choice for your home.
Key Takeaways
- A Lowe’s kitchen island expands counter space, creates a gathering point, and improves traffic flow while adding perceived value to your home.
- Portable islands offer flexibility for smaller kitchens with budgets under $500, while fixed islands provide permanent installations with integrated appliances for $1,000 to $5,000+.
- Measure your space carefully and ensure at least 3 feet of clearance on all sides and 40 square feet of floor space for safe kitchen island operation.
- Start with your budget and layout to choose between portable and fixed options, then plan for proper assembly or hire professionals for plumbing, electrical, or structural work.
- Check local building codes for permits if your kitchen island includes a cooktop or sink, and secure the base to the floor with appropriate anchors to prevent wobbling.
Why Add a Kitchen Island to Your Home
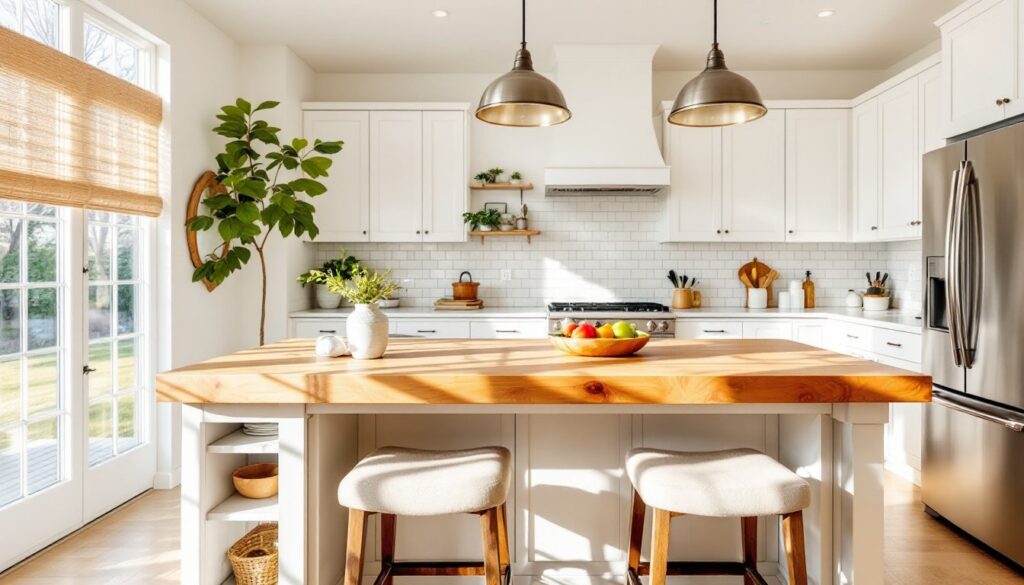
A kitchen island transforms both function and aesthetics. First, it expands your prep and cooking surface, critical if your kitchen feels cramped or if you entertain often. Second, it creates a natural gathering point: family members can sit and chat while you cook instead of hovering underfoot. Third, islands improve traffic flow by breaking up a galley-style kitchen or anchoring an open-concept space.
From a resale perspective, a well-designed island adds perceived value. Buyers see it as an upgrade without the price tag of a full remodel. Structurally, islands also let you add storage (drawers, cabinets, wine racks) that standalone cabinets can’t match.
That said, islands work best in kitchens with at least 40 square feet of floor space and roughly 3 feet of clearance on all sides for safe movement. If you have a very small kitchen or an awkward layout, a portable island might be the smarter choice.
Types of Kitchen Islands Available at Lowe’s
Portable and Freestanding Islands
Portable islands are your plug-and-play option. They come on casters (wheels), so you can roll them to wherever you need extra surface in the moment, next to your stove during meal prep, near the dishwasher while unloading, or against the wall when hosting a dinner party. Most are 24 to 30 inches deep and 36 to 60 inches wide, making them perfect for smaller kitchens or rental situations.
Lowe’s carries portable islands in various styles and finishes: butcher-block tops, stainless steel surfaces, and painted wood frames. Some include a wine rack underneath or open shelving for cookbooks. Expect to spend $200 to $800 depending on materials and features. The downside? Limited counter space and storage compared to a fixed island, and they’re not ideal if you want to integrate a cooktop or sink.
Fixed and Built-In Islands
Fixed islands are anchored to your floor and plumbing/electrical if they include a sink or stovetop. They’re permanent, so they demand more planning, you’ll need to ensure your layout works long-term. The payoff is flexibility: you can install a cooktop, add a prep sink, run electrical for pendant lights, or even incorporate a dishwasher drawer.
Lowe’s offers both semi-custom and ready-made fixed island kits. Semi-custom options let you pick cabinet styles, countertop materials, and appliance cutouts: ready-made units ship as self-contained bases ready for assembly. Fixed islands typically range from $1,000 to $5,000+ depending on size, materials, and whether you add appliances. If you’re doing custom work or need structural support (like reinforcing joists), you may need to hire a carpenter or contractor.
How to Choose the Right Island for Your Space
Start with measurements. Measure your kitchen’s length and width in feet, note where doors swing open, and identify appliance locations (stove, fridge, sink). Kitchen designers follow the “work triangle” rule: the distance between your stove, fridge, and sink should total roughly 26 feet, and an island shouldn’t interrupt that flow.
Next, consider your layout. In a small galley kitchen (under 9 feet wide), a portable 24-inch-deep island keeps walkways clear at 3 feet minimum. In an open-concept or larger kitchen, you can explore 30-36 inch depths and wider spans. Islands in kitchens with 12+ feet of width give you room to pull bar stools on one side comfortably.
Material choice matters too. Butcher block and wood are warm and accessible for DIYers but require sealing and maintenance. Quartz or laminate countertops are lower-maintenance. Stainless steel suits modern spaces and handles heavy cooking use. Resources like The Kitchn offer detailed kitchen design ideas that can help you visualize proportions and finishes before buying.
Budget shapes your options. If you have $500 or less, a portable unit is realistic. $500–$2,000 opens semi-custom fixed options. Above $2,000, you’re into custom woodworking or designs with integrated appliances. Be honest about whether a simple base with a countertop suits your needs or if you need bells and whistles like a sink or cooktop.
Finally, think about labor. Portable islands you can unbox and place yourself in an afternoon. Fixed islands require assembly, possibly electrical work, and sometimes plumbing or structural reinforcement. If you’re not confident with those tasks, budget for professional help, it’s not a good place to cut corners.
Installation and Setup Tips
Before you buy, confirm delivery and assembly options. Lowe’s offers white-glove delivery for larger items, the crew unboxes and positions the island, though they won’t usually hook up plumbing or electrical. Know the difference.
For a portable island, the job is straightforward: unbox, assemble any legs or shelving per instructions, place on casters, and position. Use a level to check that the surface is even: shim with plastic shims under casters if needed so nothing rocks. Make sure casters lock to prevent rolling accidents.
For a fixed island, you’ll need a few tools: a drill, level, screwdriver, and possibly a stud finder if anchoring to the floor. Many Lowe’s island kits come with a base that bolts down: you’ll locate floor joists (if attached to the floor) and use lag bolts or construction screws to secure it. If your kitchen has a concrete slab, concrete anchors or a thin furring strip works. Always check local building codes, some jurisdictions require permits for islands with cooktops or sinks, especially if gas lines or electrical circuits are involved.
Countertop installation depends on the material. If Lowe’s is providing the countertop, they’ll usually cut and seam it. If you’re adding your own (solid surface, quartz, butcher block), measure twice and account for overhang (typically ¾ to 1½ inches on each side). Use a router to soften edges on wood or laminate so they don’t chip, and apply a food-safe finish or sealer on butcher block before use. Plans from Ana White include detailed tutorials if you’re building a custom top.
If you’re adding a sink or cooktop, hire a plumber or electrician. Don’t DIY gas lines or high-amperage circuits. For prep, ensure your surface is clean and level before placing the island. If cabinets will sit on tile or uneven flooring, shim underneath so the unit won’t wobble. Wobbly islands are a safety hazard and can damage cabinetry over time.
After setup, give everything a week to settle before using the island hard. Check bolts and caster locks monthly to ensure they stay tight, especially if your island gets heavy traffic.
Conclusion
A Lowe’s kitchen island is a smart investment if you’ve measured your space, matched your layout to the right type, and planned for assembly or professional help. Start with your budget and footprint, choose between portable and fixed based on permanence and needs, and don’t skip prep work or anchoring. With honest assessment upfront, you’ll end up with an island that genuinely improves your kitchen’s function and your daily life, not one gathering dust as an impulse buy. If you’re weighing costs and timelines, ImproveNet offers guides to help you estimate project scope. Do your assignments, take your time, and you’ll get this right.