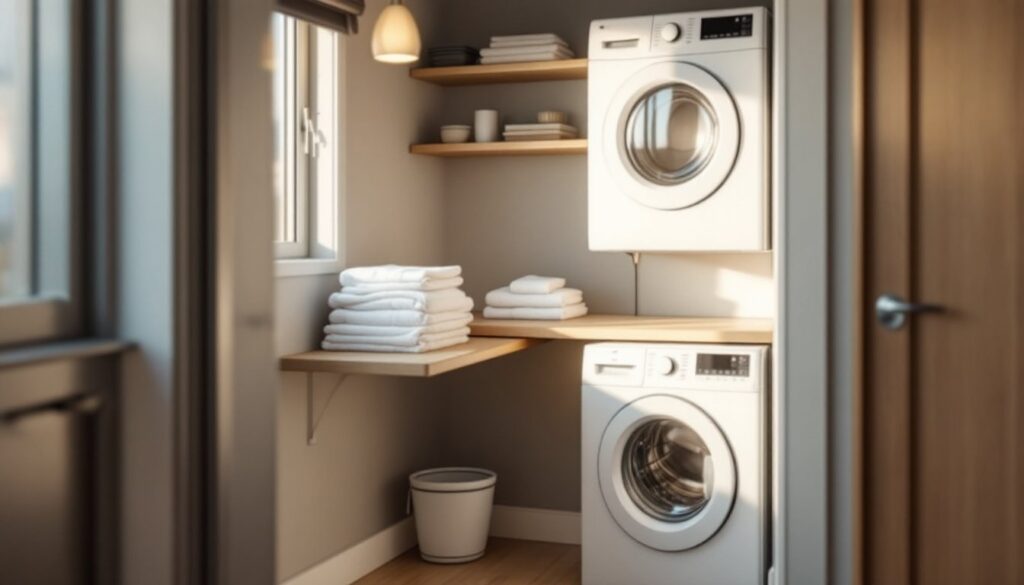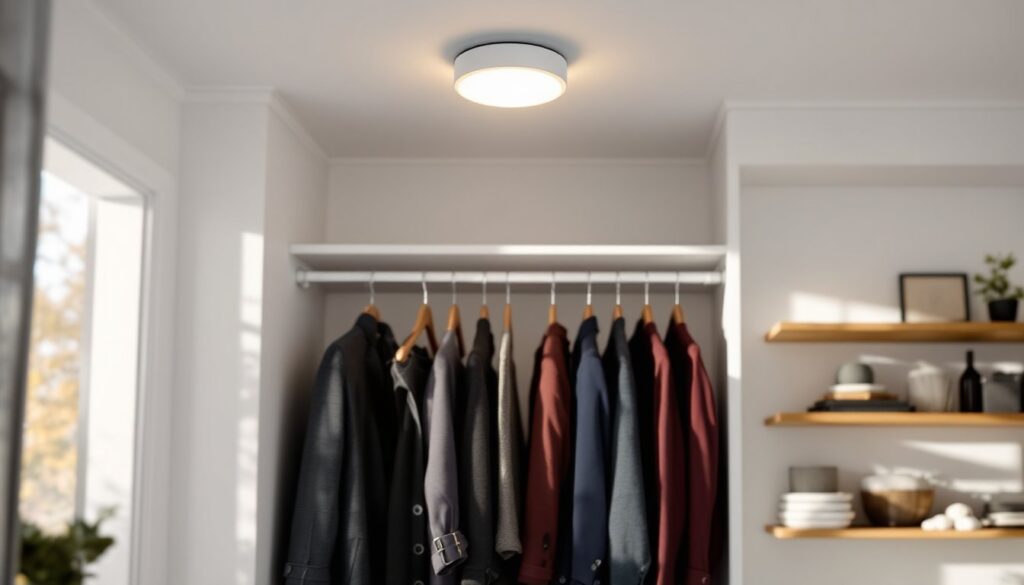

Closet lighting is one of those home problems that feels trivial until you’re digging through hanging clothes in near darkness at 6 a.m. A motion sensor closet light solves this frustration while cutting energy waste, these fixtures detect movement and turn on automatically, then shut off after a set period. Unlike traditional wall switches or pull-chain lights, motion-activated closets mean your hands stay free and you’re never left fumbling. Whether you’re retrofitting a coat closet, pantry, or utility space, motion sensor lights offer a practical upgrade that improves both convenience and efficiency. Here’s what you need to know before you buy and install.
Table of Contents
ToggleKey Takeaways
- A motion sensor closet light automatically turns on when you enter and shuts off after a preset delay, eliminating wasted energy from forgotten switches and improving convenience and safety.
- Motion sensor closet lights can reduce energy consumption by 10-20% annually in frequently-used spaces, especially when paired with LED technology that uses 75% less power than incandescent bulbs.
- PIR (passive infrared) sensors are the most reliable and affordable option for residential closets, offering 8-15 feet detection range without the false triggering issues of microwave sensors.
- Choose at least 400-600 lumens for standard reach-in closets and warmer light (2700K) for clothing areas to ensure visibility and flattering appearance.
- Battery-powered adhesive motion sensor lights ($15-40) are ideal for renters and quick installations, while hardwired fixtures ($25-100+) provide seamless integration with your home’s electrical system.
- Adjust sensitivity and delay settings (typically 2-3 minutes) after installation to prevent false triggers and flickering, and always verify building codes or hire a licensed electrician for hardwired installations.
Why Motion Sensor Closet Lights Are a Game-Changer for Any Home
Key Benefits and Energy Savings
Motion sensor closets lights eliminate the “light left on” problem that plagues most households. If you’ve ever discovered a closet light burning at 2 p.m., you know the waste adds up, and the annoying habits of family members who forget to flip the switch. A motion sensor automatically turns the light off after a preset delay (typically 30 seconds to 10 minutes), cutting accidental energy drain.
The convenience factor is just as valuable. Reaching for a light switch while holding an armful of coats, groceries, or laundry is awkward and sometimes unsafe. Motion activation means the light greets you the moment you need it. For older homeowners, this eliminates fumbling and reduces fall risk in dimly lit spaces.
Energy savings vary based on how often the closet is used, but studies on smart home devices show automatic lighting can reduce energy consumption by 10–20% annually in frequently-used spaces. Since closets are intermittent-use areas, the payoff comes mainly from eliminating idle burn time. Many motion sensor models also use LED technology, which draws 75% less power than older incandescent fixtures while lasting 25,000+ hours, meaning fewer replacements over time.
From a durability standpoint, motion sensors are also low-maintenance. Once installed, there are no switches to wear out, no bulbs to change as frequently, and minimal moving parts to fail.
How Motion Sensor Closet Lights Work
Types of Sensors and Detection Technology
Motion sensor closet lights use one of two primary detection technologies: passive infrared (PIR) and microwave sensors. PIR sensors detect heat signatures, when you walk into a closet, your body’s infrared radiation triggers the sensor. These are the most common type in residential closets because they’re affordable, reliable, and consume minimal power. They typically have a detection range of 8–15 feet and can adjust for sensitivity to avoid false triggers from pets or air currents.
Microwave sensors emit a low-power radio signal and detect when that signal bounces back off moving objects. They’re faster at detecting motion than PIR sensors and can sense movement through obstacles like light boxes or partially open doors. But, they’re pricier and slightly more prone to false activation if installed near appliances that emit RF interference. For most closets, PIR is the better choice, it’s simpler, quieter, and sufficient for a small enclosed space.
Both sensor types connect to the light fixture itself or mount separately on a wall or ceiling. When motion is detected, a relay closes the circuit and power flows to the LED or bulb. A built-in timer automatically cuts power after the delay period expires. Some advanced models include a manual override switch, letting you turn the light on or off manually without triggering the sensor, useful if you’re organizing and don’t want the light cycling.
Adjustable settings on modern models let you control sensitivity and delay time. Sensitivity filters out small movements (like a cat brushing past) while delay time determines how long the light stays on after motion stops. Most closet installations use a 1–3 minute delay, though this depends on how quickly you move through the space.
Installation and Setup Essentials
Before you install anything, measure your closet and confirm it doesn’t exceed the sensor’s detection range. A standard reach-in closet (4 × 6 feet) is well within the range of most residential PIR sensors. If the sensor will be ceiling-mounted, aim it toward the door opening where you’ll enter.
Tools and materials you’ll need:
- Ladder or step stool
- Screwdriver (Phillips or flathead, depending on fixture)
- Wire strippers (for hardwired models)
- Voltage tester (if cutting into existing wiring)
- Drywall anchors or screws (if mounting to drywall)
- Pencil and tape measure
Step-by-step installation varies by fixture type:
For battery-powered adhesive lights, the process is nearly tool-free: clean the mounting surface with a damp cloth, let it dry completely, peel the adhesive backing, and press the fixture firmly in place for 30 seconds. These are ideal for rental spaces since they leave no damage. Battery life typically runs 12–18 months depending on activity level and temperature.
For hardwired under-cabinet or recessed fixtures, you’ll need to cut power to the circuit, run electrical wire through the wall or attic (building codes require NM cable in most jurisdictions, check your local IRC standards), and make wire connections inside a junction box. This work requires comfort with basic wiring and often a permit, especially if you’re extending circuits or running new wire. If you’re unsure, hire a licensed electrician, it’s not worth a fire risk.
For flush-mount or standard screw-in bulb replacements, shut off the breaker, remove the old fixture, connect the motion sensor fixture’s wires to your existing junction box using wire connectors, and secure the new fixture to the ceiling or wall. Most residential circuits are 15 or 20 amps, confirm your circuit can handle the additional load (most LED fixtures draw under 1 amp, so this is rarely an issue).
After installation, test the sensor by walking into the space and adjusting sensitivity or delay settings if needed. Some sensors have a small dial or dip switch on the back: others use a smartphone app or a small remote control. Read the instructions, settings vary widely between manufacturers.
Choosing the Right Motion Sensor Light for Your Closet
Selection depends on your closet type, existing wiring, rental vs. owned status, and budget. Battery-powered options start around $15–40 and work instantly with zero installation fuss, perfect for renters or as a temporary fix. Hardwired fixtures run $25–100+ before labor, but they integrate seamlessly with your home’s electrical system and never need battery replacement.
Brightness matters more than you’d think in a closet. Aim for at least 400–600 lumens for a standard reach-in closet, which is roughly equivalent to a 40–60 watt incandescent bulb. Pantries and utility closets benefit from 600–800 lumens. Check the lumens rating on the packaging, don’t rely on wattage alone, as LED efficiency varies by manufacturer.
Color temperature affects how items look in the closet. Warmer lights (2700K) are flattering for clothing and create a cozy feel, while cooler lights (4000K–5000K) are brighter and better for finding things quickly. Wardrobe and work closets often pair well with warmer tones: pantries and storage closets benefit from cooler, whiter light.
Sensor range and sensitivity matter in different ways. A 15-foot range is overkill for a 4×6 closet and increases false triggering risk. Look for adjustable sensitivity to filter out small movements. Delay time should be long enough that the light doesn’t flicker off while you’re still inside, 2–3 minutes is standard. Some fixtures let you set delay down to 10 seconds or up to 30 minutes: choose based on closet use patterns.
Durability features include weather-resistant ratings for garage closets or damp environments (look for IP44 or higher ratings), and enclosures rated for moisture. Standard indoor closets don’t require weather resistance, so don’t overpay for it. Finally, check warranty coverage, reputable manufacturers offer 1–3 year warranties: avoid unmarked or suspiciously cheap fixtures, as they often fail quickly or have loose wiring that creates fire hazards.
Conclusion
Motion sensor closet lights are a straightforward upgrade that delivers real convenience and measurable energy savings. The technology is proven, installation options suit any skill level, and the price point makes it accessible for most homeowners. Whether you choose a battery-powered adhesive model or a hardwired ceiling fixture, you’re eliminating a daily friction point while reducing wasted electricity. Measure your space, pick the right brightness and sensor type for your needs, and install with care, or call a professional if you’re working with electrical wiring. The payoff, both in time and dollars saved, will be worth it from day one.