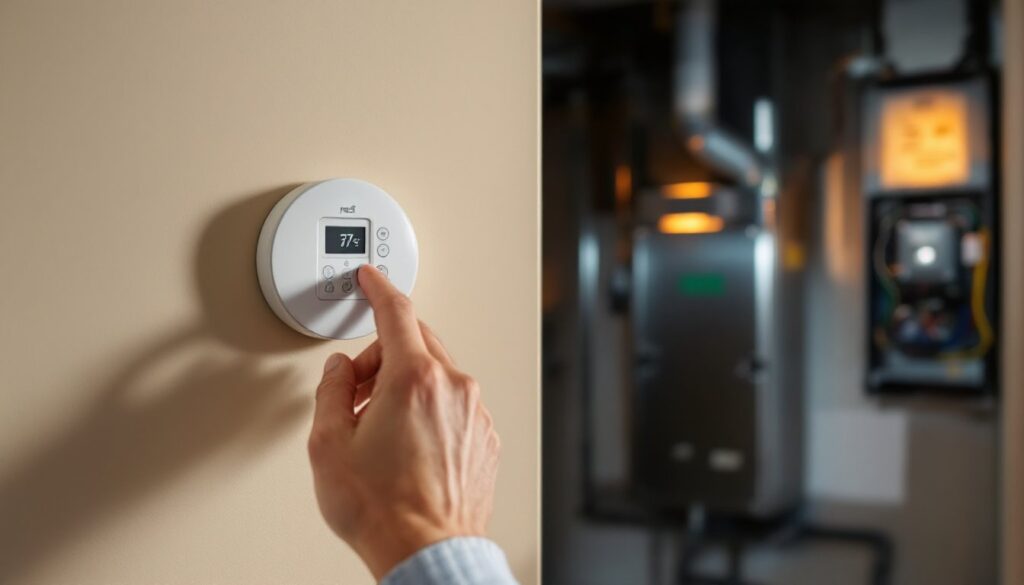

Before you order a Nest thermostat, stop. Installing one isn’t just about plugging it in and connecting to Wi-Fi. A Nest thermostat compatibility check is essential because incompatible wiring, unsupported HVAC systems, or poor home network conditions will derail your project faster than a dull drill bit. This guide walks you through the critical compatibility factors, system type, electrical requirements, and connectivity, so you know exactly whether a Nest will work in your home before you spend the money.
Key Takeaways
- Nest thermostat compatibility requires checking your HVAC system type, wiring configuration, and Wi-Fi signal strength before purchase to avoid costly incompatibility issues.
- Your furnace must use forced-air technology with electronic ignition; oil-fired furnaces, steam systems, and older gas furnaces with pilot lights are not compatible with Nest.
- A C-wire (common wire) or power adapter is essential for Nest operation, as the device cannot run on batteries alone and needs a 24-volt power source from your HVAC system.
- Nest requires a stable 2.4 GHz Wi-Fi connection with at least three signal bars; routers broadcasting only 5 GHz, weak signal, or frequent internet dropouts will compromise functionality.
- Use Google’s official compatibility tool and inspect your thermostat wiring (typically 4–8 wires labeled R, C, W, Y, O/B, G) to confirm your home meets all Nest requirements.
- If running a new C-wire or dealing with complex wiring, hiring a licensed electrician for $100–300 is a worthwhile investment to ensure safe installation and avoid furnace damage.
System Type Requirements and HVAC Compatibility
A Nest thermostat works with most residential HVAC systems, but “most” isn’t “all.” The device is compatible with forced-air furnaces (gas and electric), heat pumps, and central air conditioning. Oil-fired furnaces, steam systems, and radiant heating aren’t supported. If you’re unsure what you have, check your furnace’s nameplate or ask a heating contractor.
Single-stage, two-stage, and variable-speed systems all work with Nest. If your furnace has a pilot light that requires continuous gas flow, typically found in older gas furnaces, Nest won’t control it safely. Modern furnaces use electronic ignition, which Nest handles without issue.
Checking Your Current System Setup
Start by opening your furnace door and locating the manufacturer label. Note the model number and fuel type (gas, electric, oil). Next, walk to your existing thermostat and take a photo of the wire terminals on the back. Most thermostats have 4–8 wires labeled with letters: R, C, W, Y, O/B, G, and sometimes X or auxiliary terminals.
If you can’t access the thermostat wires without breaking drywall or removing the cover plate, measure twice before cutting. Count how many wires run from your furnace to the thermostat. Most Nest-compatible systems have at least 4–5 wires. If you see only 2–3 thin wires in an old home, compatibility becomes dicey, and you may need a professional.
Wiring Specifications and Electrical Requirements
Nest needs power to operate, and that power comes through your thermostat wiring. The device requires either a common wire (C-wire) connected to your HVAC system or a power adapter. This is non-negotiable: Nest won’t hold a charge from batteries alone.
Your furnace produces a 24-volt AC signal through a transformer, which runs through control wires to the thermostat. The C-wire is the return path that completes the circuit. Many older homes lack a dedicated C-wire because older thermostats used very little power and could function with just the R (red, hot) wire. If your thermostat has only two or three wires and no C-wire running to it, you’ve got a problem.
Understanding C-Wire and Power Options
The most straightforward solution is running a new C-wire from your furnace to the thermostat location. If your thermostat cable already has a spare, unused wire (often blue or white), you can sometimes repurpose it. Standard thermostat cable is 18-gauge, low-voltage, perfectly safe to work with. Run it alongside existing wires in conduit, staple it every 16 inches, and avoid routing it near live electrical lines or in damp basements.
If you don’t have a spare wire and can’t fish a new one through walls easily, Nest Power Adapter options exist, though they’re less elegant. A power extender kit connects to an unused furnace terminal and provides the 24V power Nest needs. Some thermostats pull power from the O/B terminal (reversing valve for heat pumps), but you need at least one spare terminal available. Check your furnace wiring diagram, usually taped inside the control panel, to see which terminals are unused.
Home Network and Connectivity Needs
Nest requires a stable 2.4 GHz Wi-Fi connection. It does not support 5 GHz, so if your router broadcasts only 5 GHz, you’re stuck. Most modern routers emit both bands simultaneously (dual-band), which works fine. Nest connects via Wi-Fi to Google’s cloud servers, letting you control the thermostat from your phone and access energy reports.
Wi-Fi signal strength matters. If your router sits on the opposite end of the house from your HVAC closet, you may struggle. Test the connection before installation: walk to the thermostat location with your phone and check the Wi-Fi signal bars. Anything below two bars is risky: three or more is ideal. If signal is weak, move your router, add a mesh network node, or use a Wi-Fi extender pointed at the thermostat location.
Internet reliability also affects scheduling and remote access. A frequent dropout means Nest falls back to a default schedule instead of your programmed one. Unstable internet also prevents app notifications and away mode features from working properly. Test your home’s internet speed and stability over a few days before installing, not during a streaming marathon or a Zoom call rush hour.
Verifying Compatibility Before You Buy
The easiest way to confirm Nest compatibility is to use Google’s compatibility tool, which asks about your system type, fuel, and wire configuration and gives a yes-or-no answer. Before running the tool, have your system details handy: furnace model, number of thermostat wires, any heat pump info.
For more detailed guidance, detailed resources like Nest thermostat compatibility guides walk through specific furnace brands and configurations. If your furnace is fewer than 15 years old and uses forced air (not oil or steam), you’re likely safe.
Do a quick Wi-Fi survey too. Open a Wi-Fi scanner app on your phone, most are free, and check signal strength near the thermostat. If your network name appears but signal is faint, note it as a concern and plan to strengthen coverage.
If you’re still uncertain after these steps, take photos of your furnace nameplate and thermostat wiring, then email them to a local HVAC contractor. A 15-minute email consultation often costs nothing and saves you from buying incompatible hardware.
Installation Considerations and Professional Help
If you’ve confirmed compatibility, installation is straightforward for those comfortable with basic wiring. Turn off the furnace at the breaker. Take a clear photo of your old thermostat wiring before disconnecting anything, this is your safety net. Label each wire with tape and marker (R, C, W, Y, G, etc.) so you don’t mix them up.
Nest’s wall plate is roughly the same size as standard thermostats, so it usually sits flush against drywall. If your old thermostat was recessed into a wall cavity, Nest may sit proud (sticking out), revealing paint marks or holes. Consider painting the wall around it or patching with spackling and primer beforehand.
Running a new C-wire requires fishing wire through walls or drilling small holes and patching them. This is doable solo if you use a stud finder and drywall saw, but a second set of hands makes it much easier. If you’re uncomfortable with small electrical work, drilling, or patching drywall, hire a licensed electrician or HVAC contractor. The cost ($100–300 for a C-wire run) is well worth avoiding a wiring mistake that damages your furnace or creates a safety hazard.
Before powering everything back on, double-check every wire connection against the Nest installation guide. Crossed wires (W and Y, for example) will cause short-cycling or failure to heat/cool. Once connections are confirmed, flip the furnace breaker back on, let the system boot, and connect to Wi-Fi from the app. Test heating and cooling mode to confirm everything responds.